yuux
Co-founder of DropReference, I'm here to give you the best tips to build the gaming PC of your dreams!
yuux
Co-founder of DropReference, I'm here to give you the best tips to build the gaming PC of your dreams!
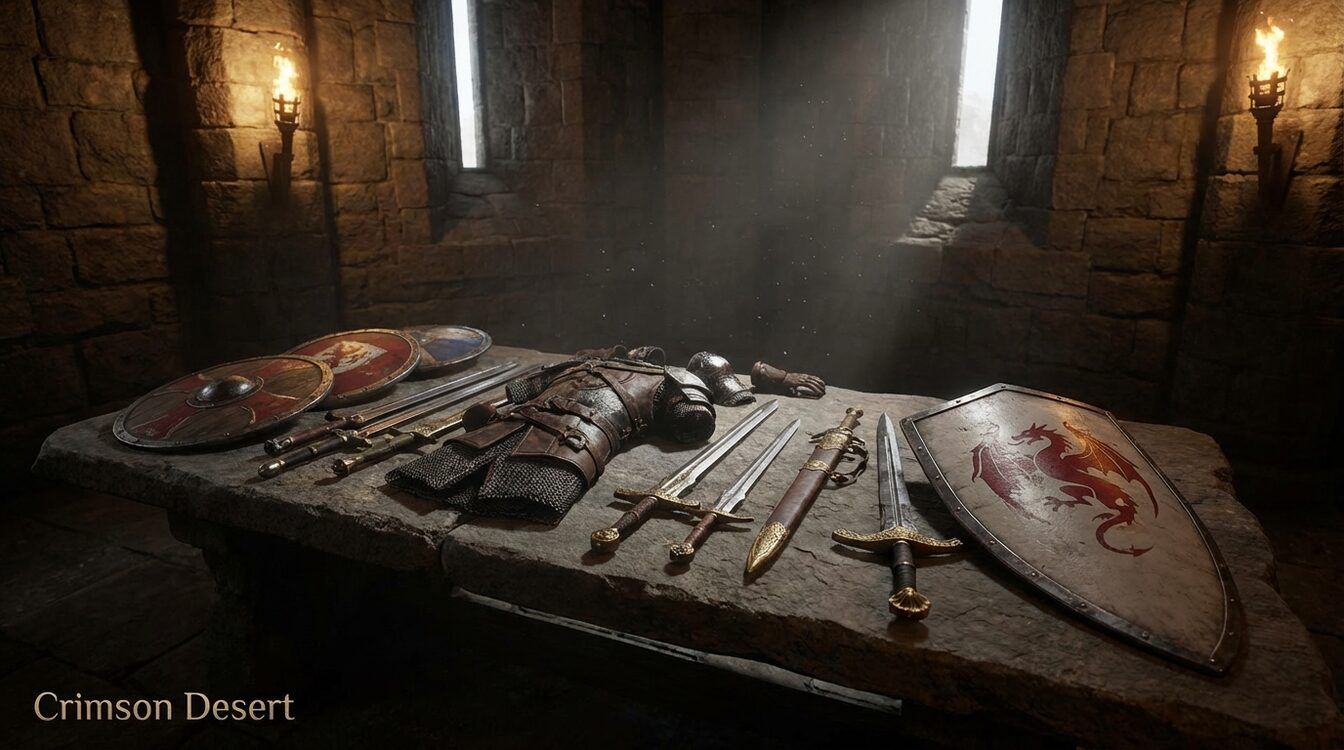
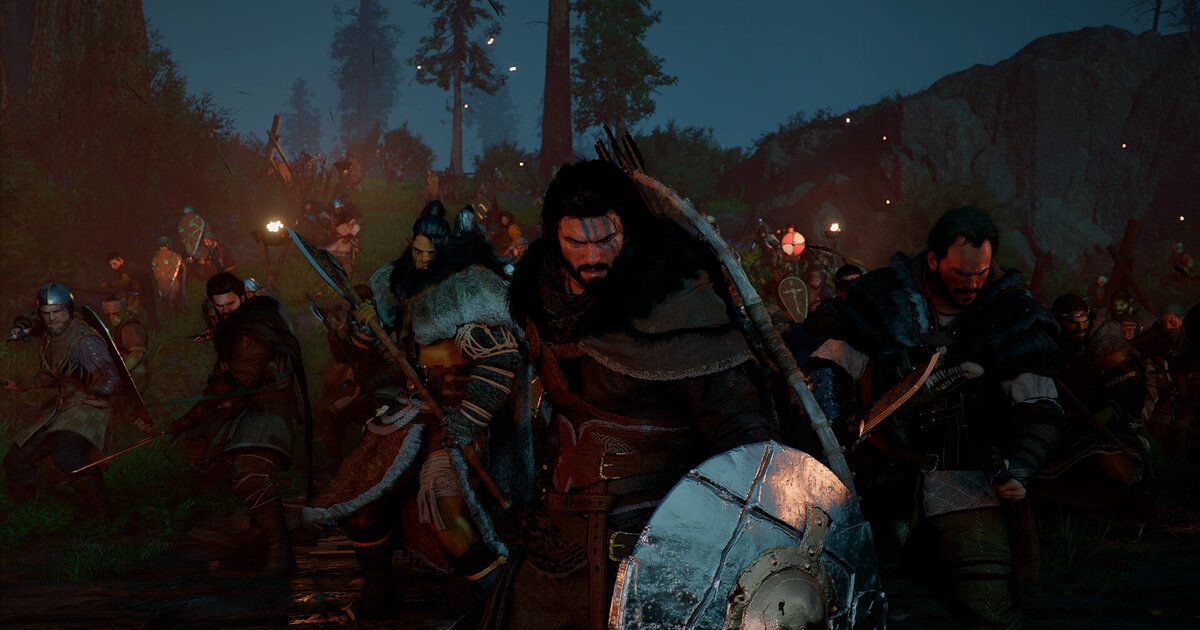
- 1All Crimson Desert bosses: strategies and tips for each fight
- 2Before rushing: the universal preparation
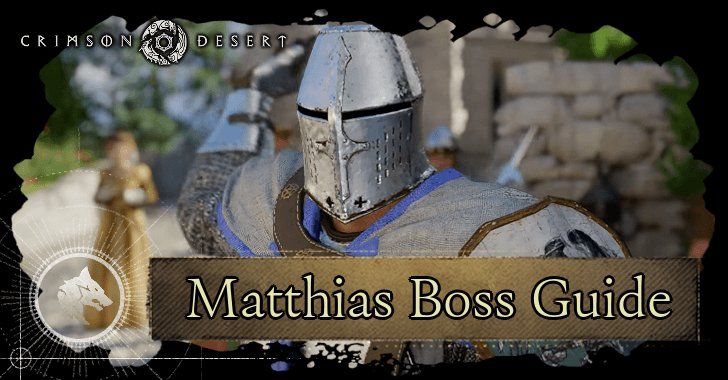
- 3Boss n°1: Matthias - For Honor
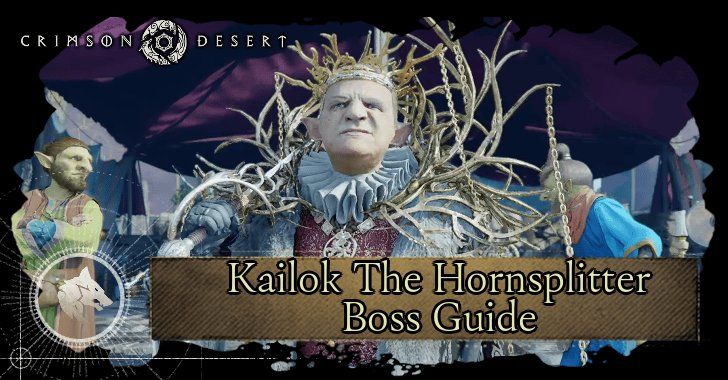
- 4Boss n°2: Kailok, the Horned - Cheers Echoing From the Edge
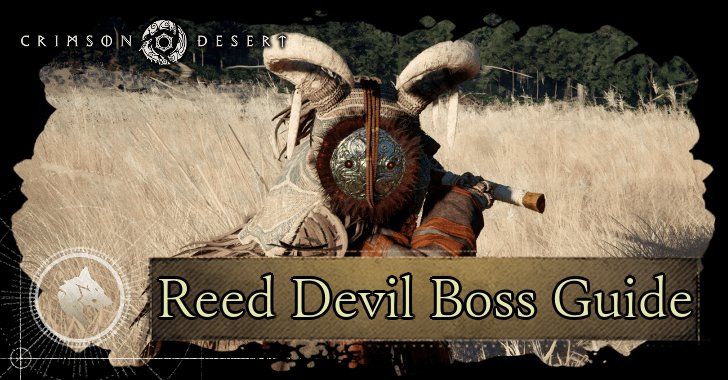
- 5Boss n°3: Reed Devil — Dance with the Devil
- 6Boss n°4: Tenebrum — Gate to the Otherworld
- 7Boss n°5: Kearush, the Massacrer - Demenissian Delegation
- 8Boss n°6: Crowcaller — Bloodwind / Toward the Nest
- 9Boss n°7: Cassius Morten — Traitor
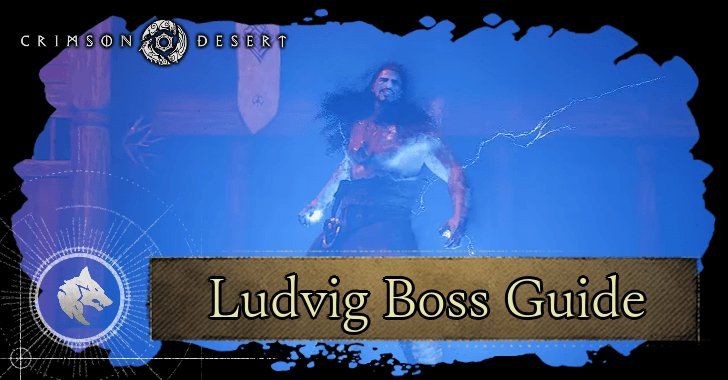
- 10Boss n°8 and n°9: Ludvig, then Ludvig Penguin
- 11Boss n°10: Gregor, the Carnage Halberdier - Where the Wind Guides You
- 12Boss n°13: Lucian Bastier - A Fleeting Dream
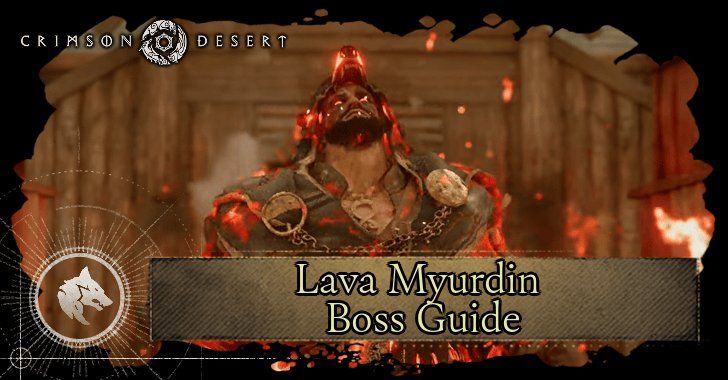
- 13Final boss: Corrupted Caliburn, Myurdin Avatar of Umbra, and Umbra
- 14The optional bosses not to be missed
- 15The screen that changes everything for boss fights
- 16Frequently Asked Questions