yuux
Co-founder of DropReference, I'm here to give you the best tips to build the gaming PC of your dreams!
yuux
Co-founder of DropReference, I'm here to give you the best tips to build the gaming PC of your dreams!
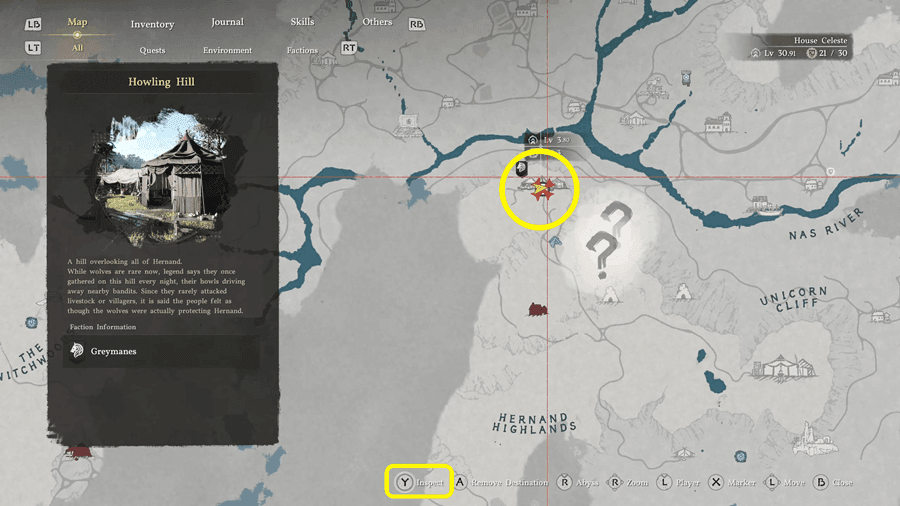
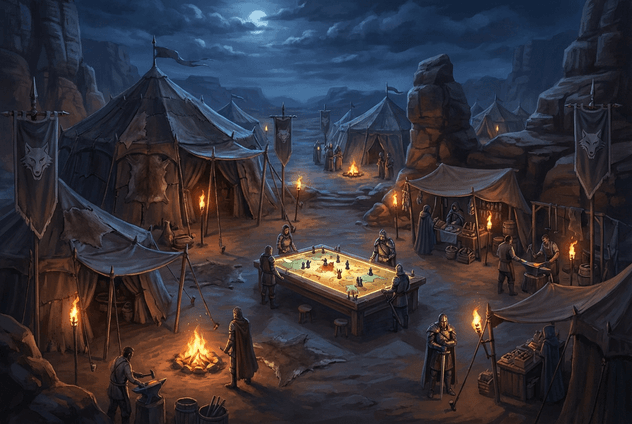
- 1Your camp, it's your rear base
- 2How to unlock the camp and make it evolve
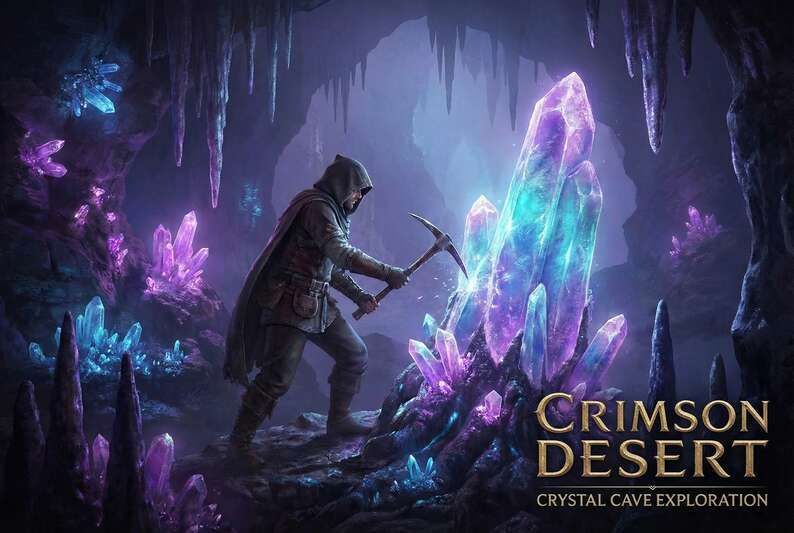
- 3The resources of the camp
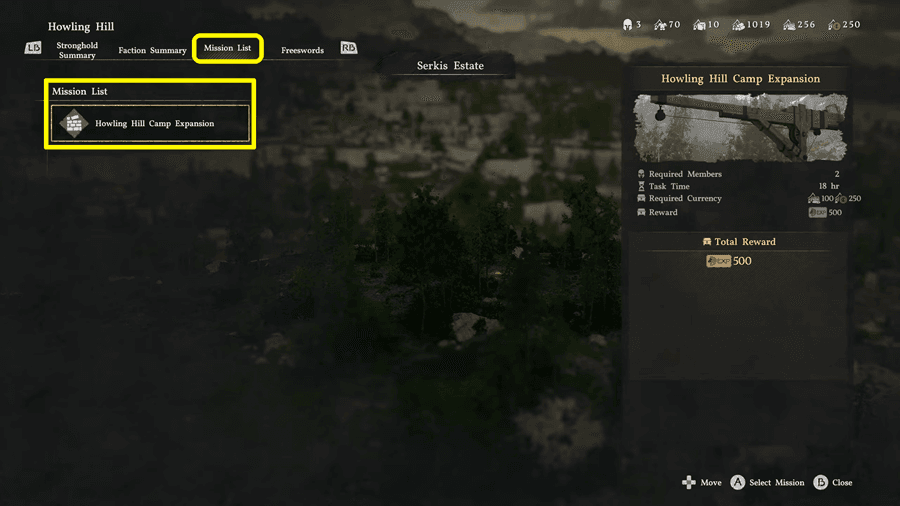
- 4The dispatch missions: the heart of the system
- 5Skills bonuses: how to double (or even triple) your rewards
- 6Automating food production: the real game-changer
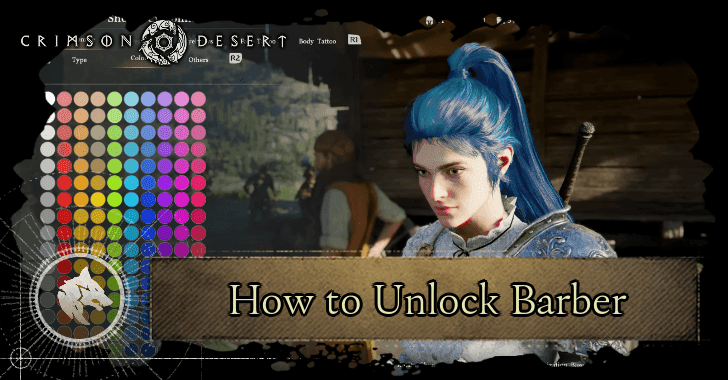
- 7The barber: customize Kliff, Damiane, and Oongka
- 8Merchants and exchange contracts: stop the back and forth
- 9Vegetable garden and farm: useful or not?
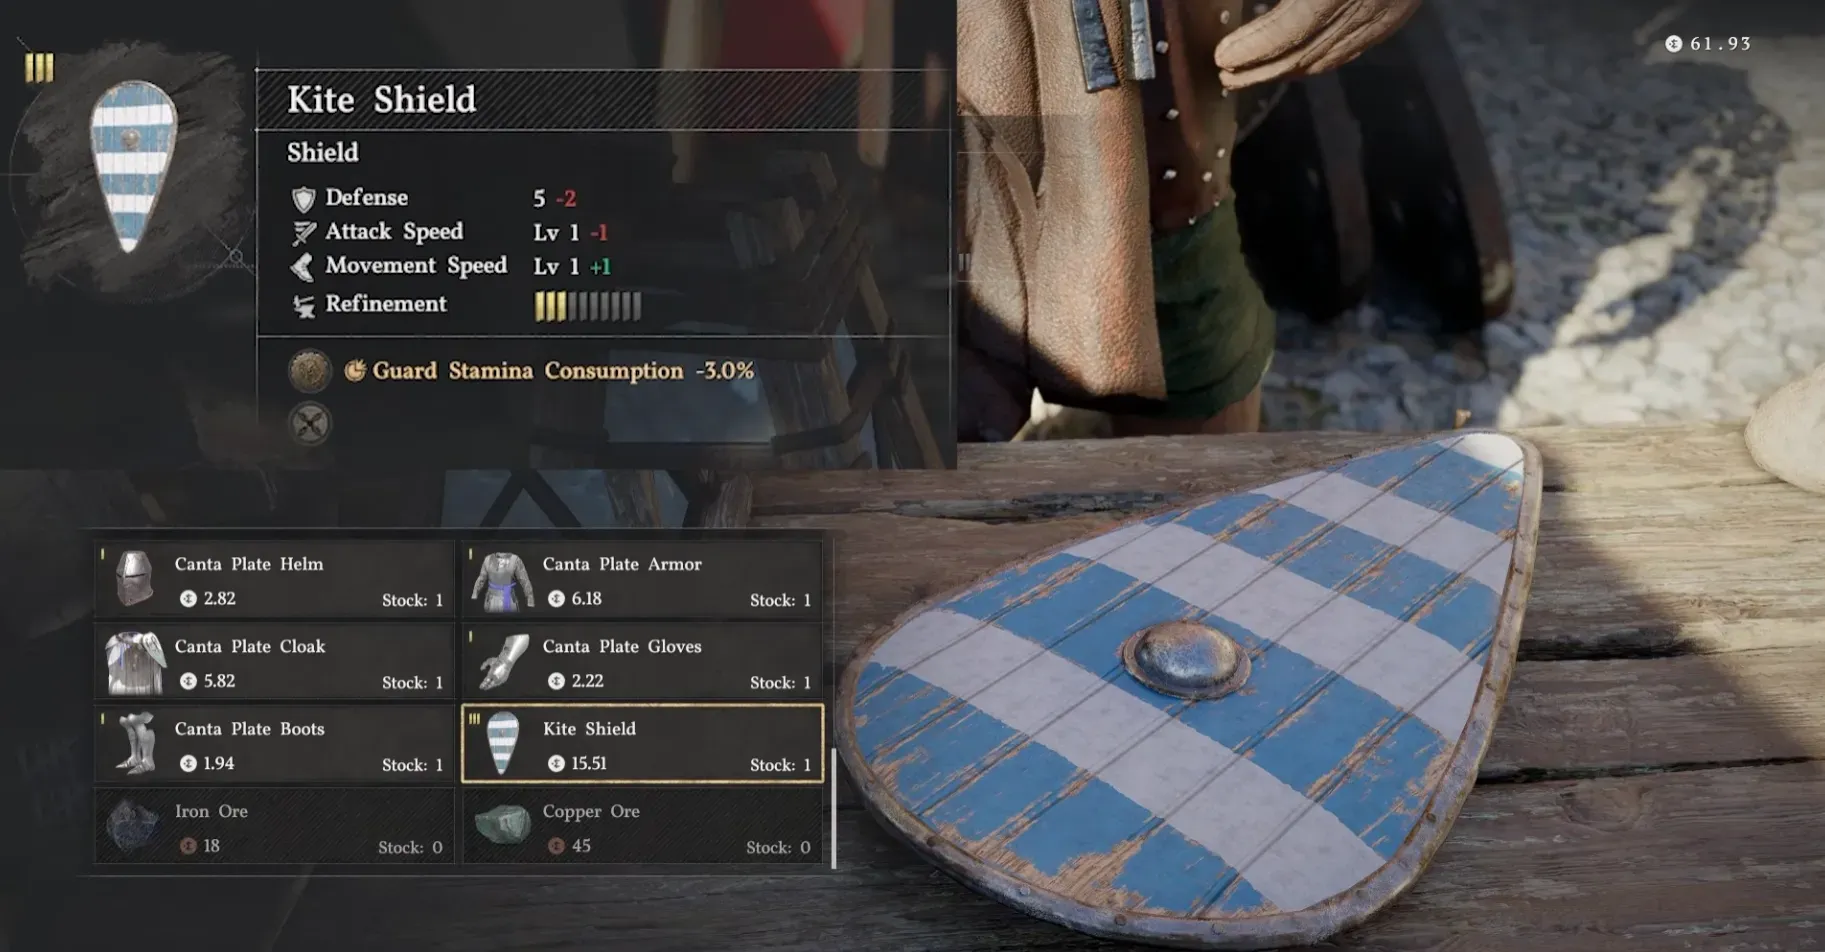
- 10Poisoned arrows and tool production
- 11The optimal setup: your camping routine in 5 minutes
- 12FAQ