yuux
Co-founder of DropReference, I'm here to give you the best tips to build the gaming PC of your dreams!
yuux
Co-founder of DropReference, I'm here to give you the best tips to build the gaming PC of your dreams!
- 1The camp everyone ignores (but shouldn't)
- 2How to unlock and expand the camp
- 3Companion management and production missions
- 4Automating food production
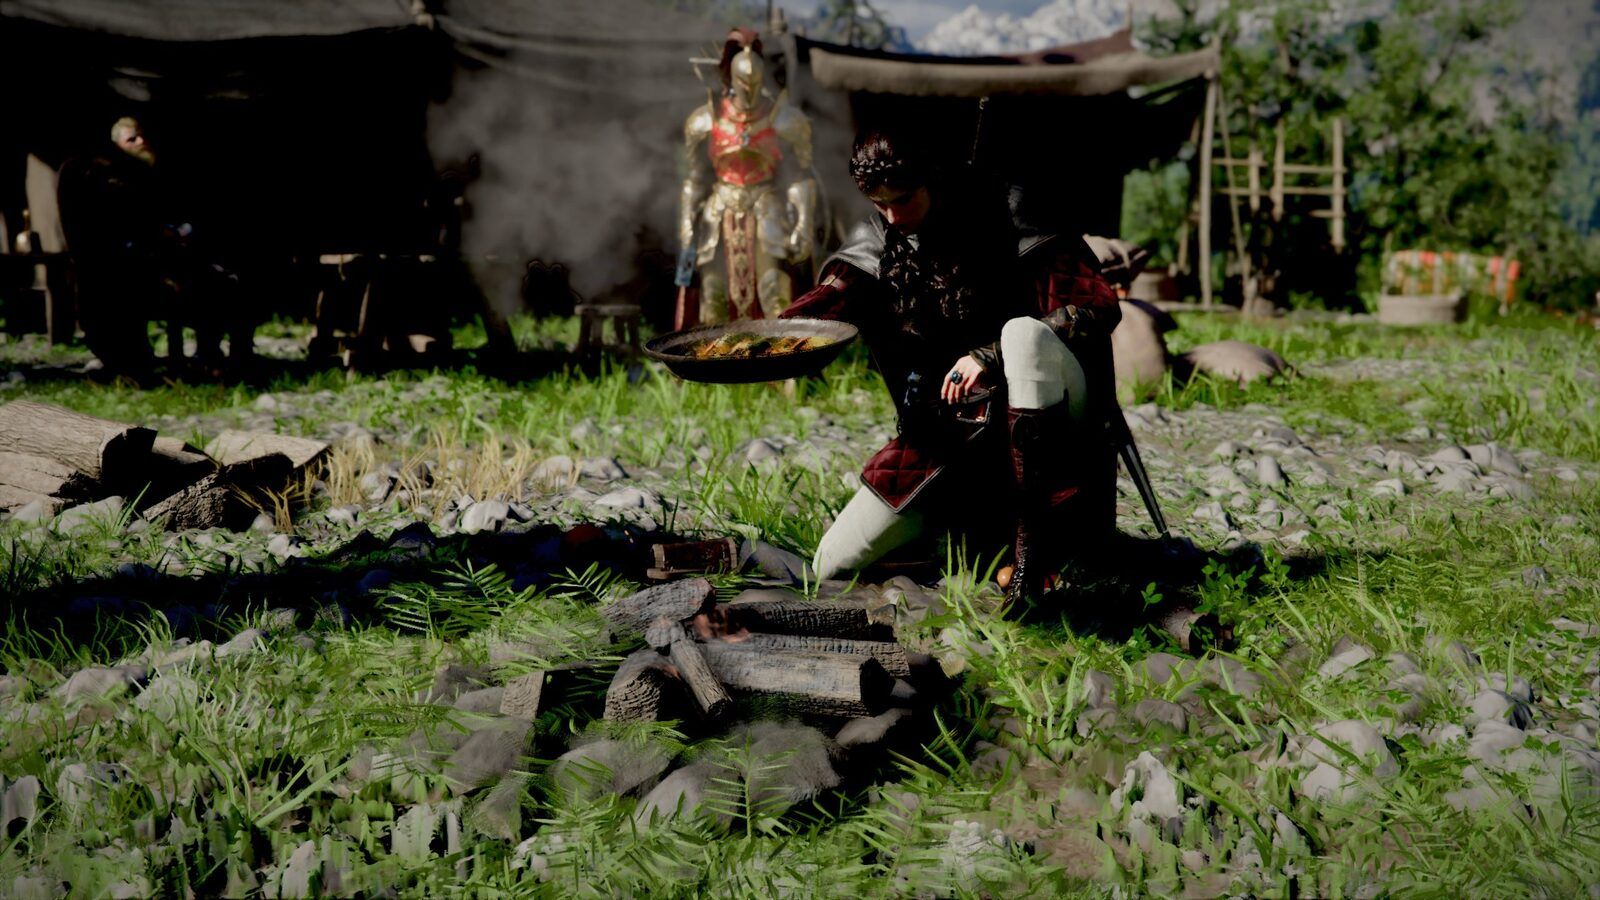
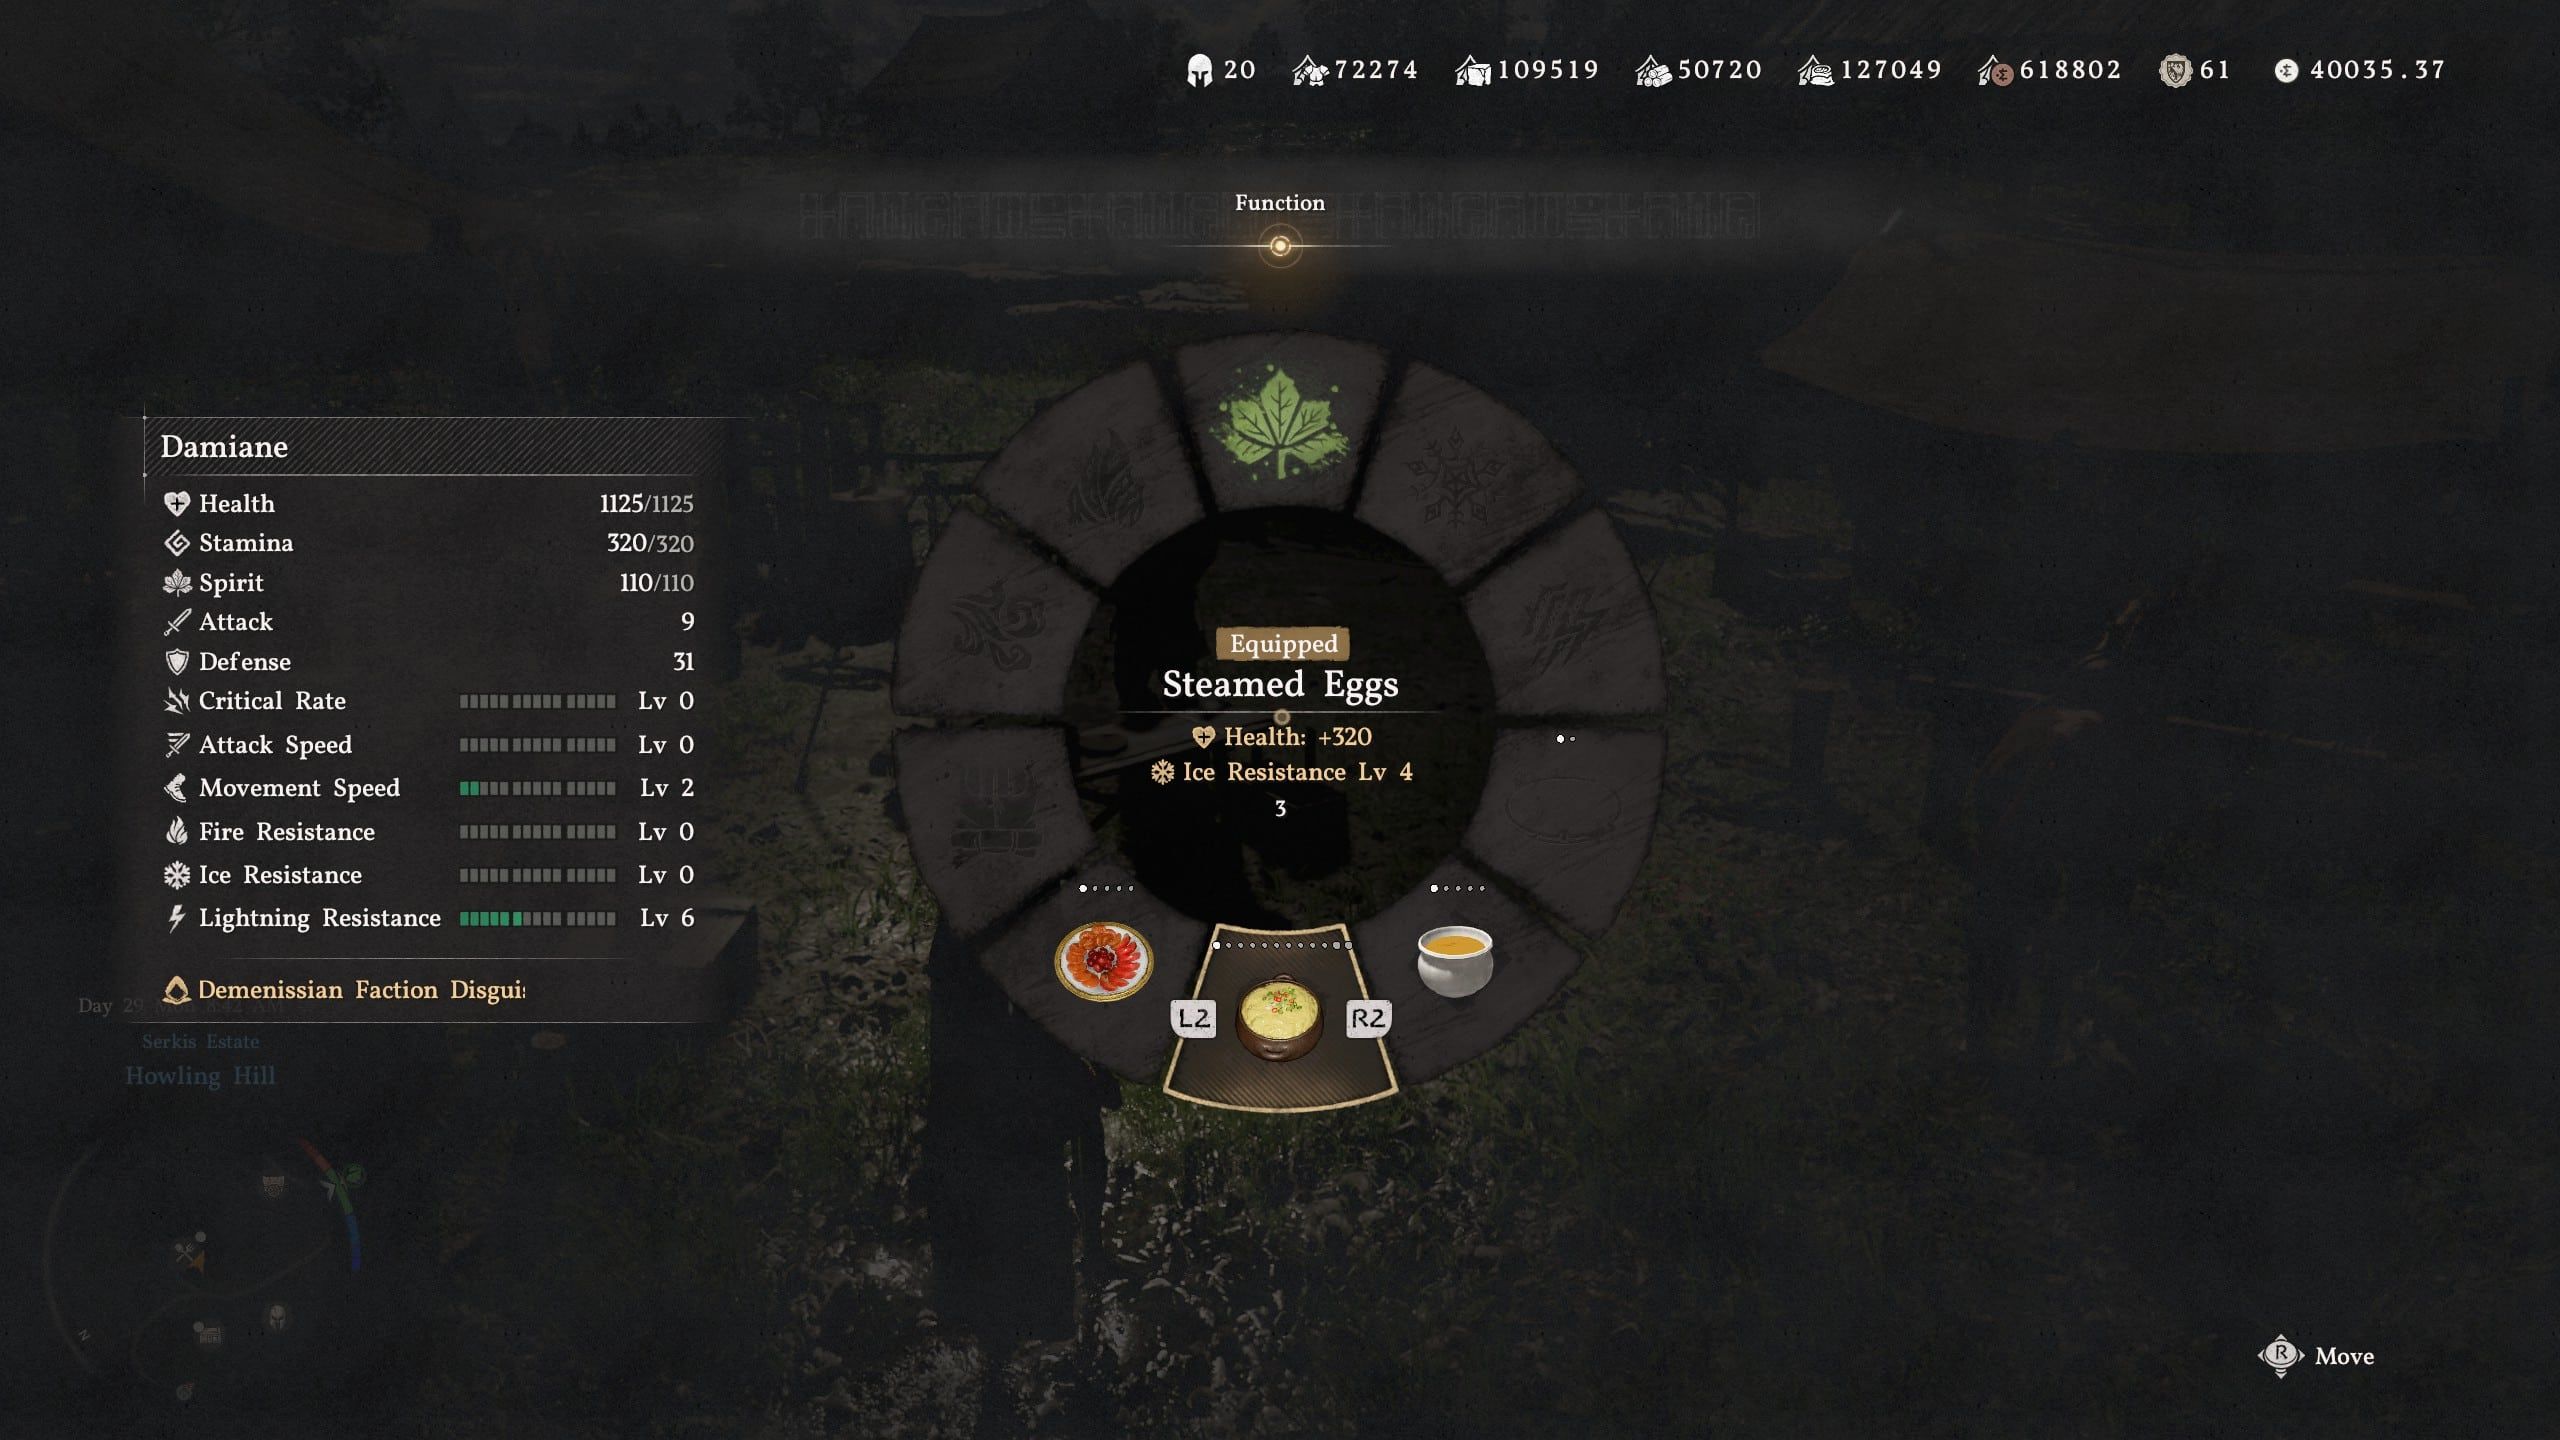
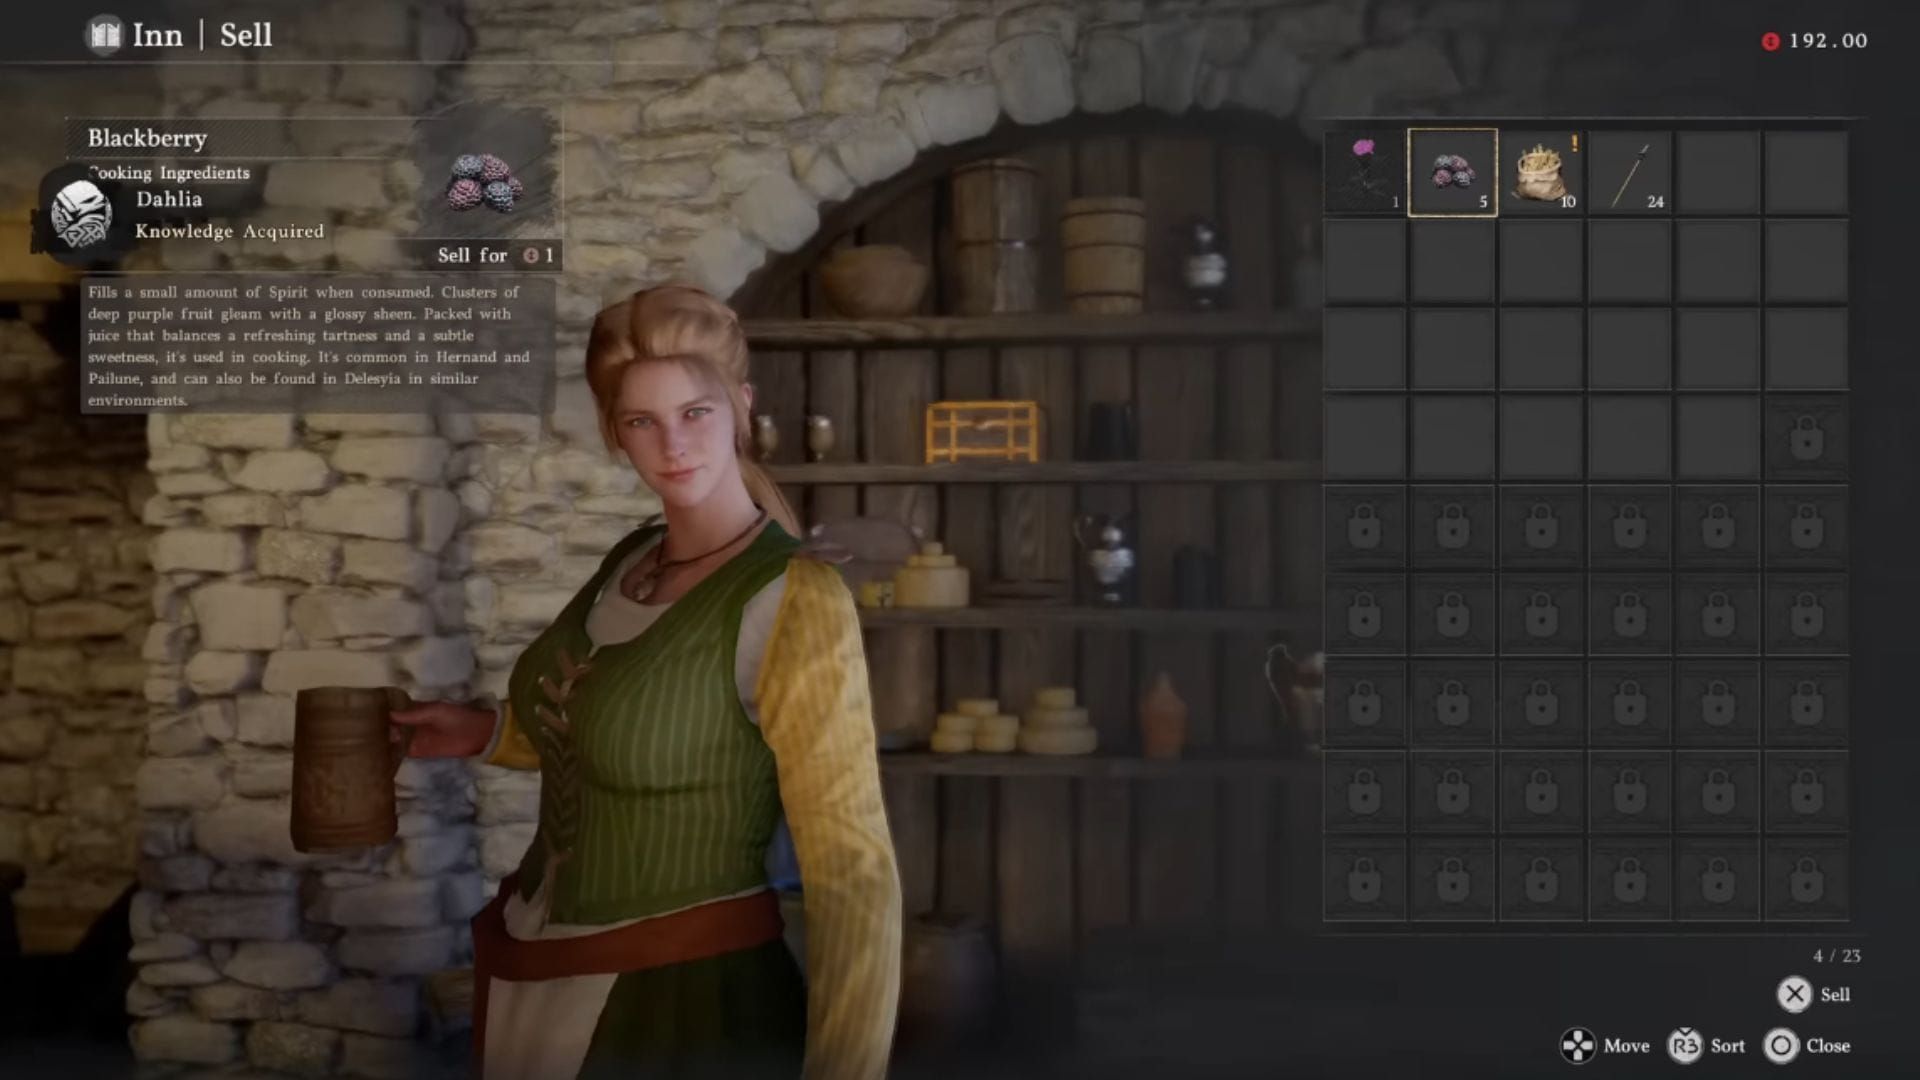
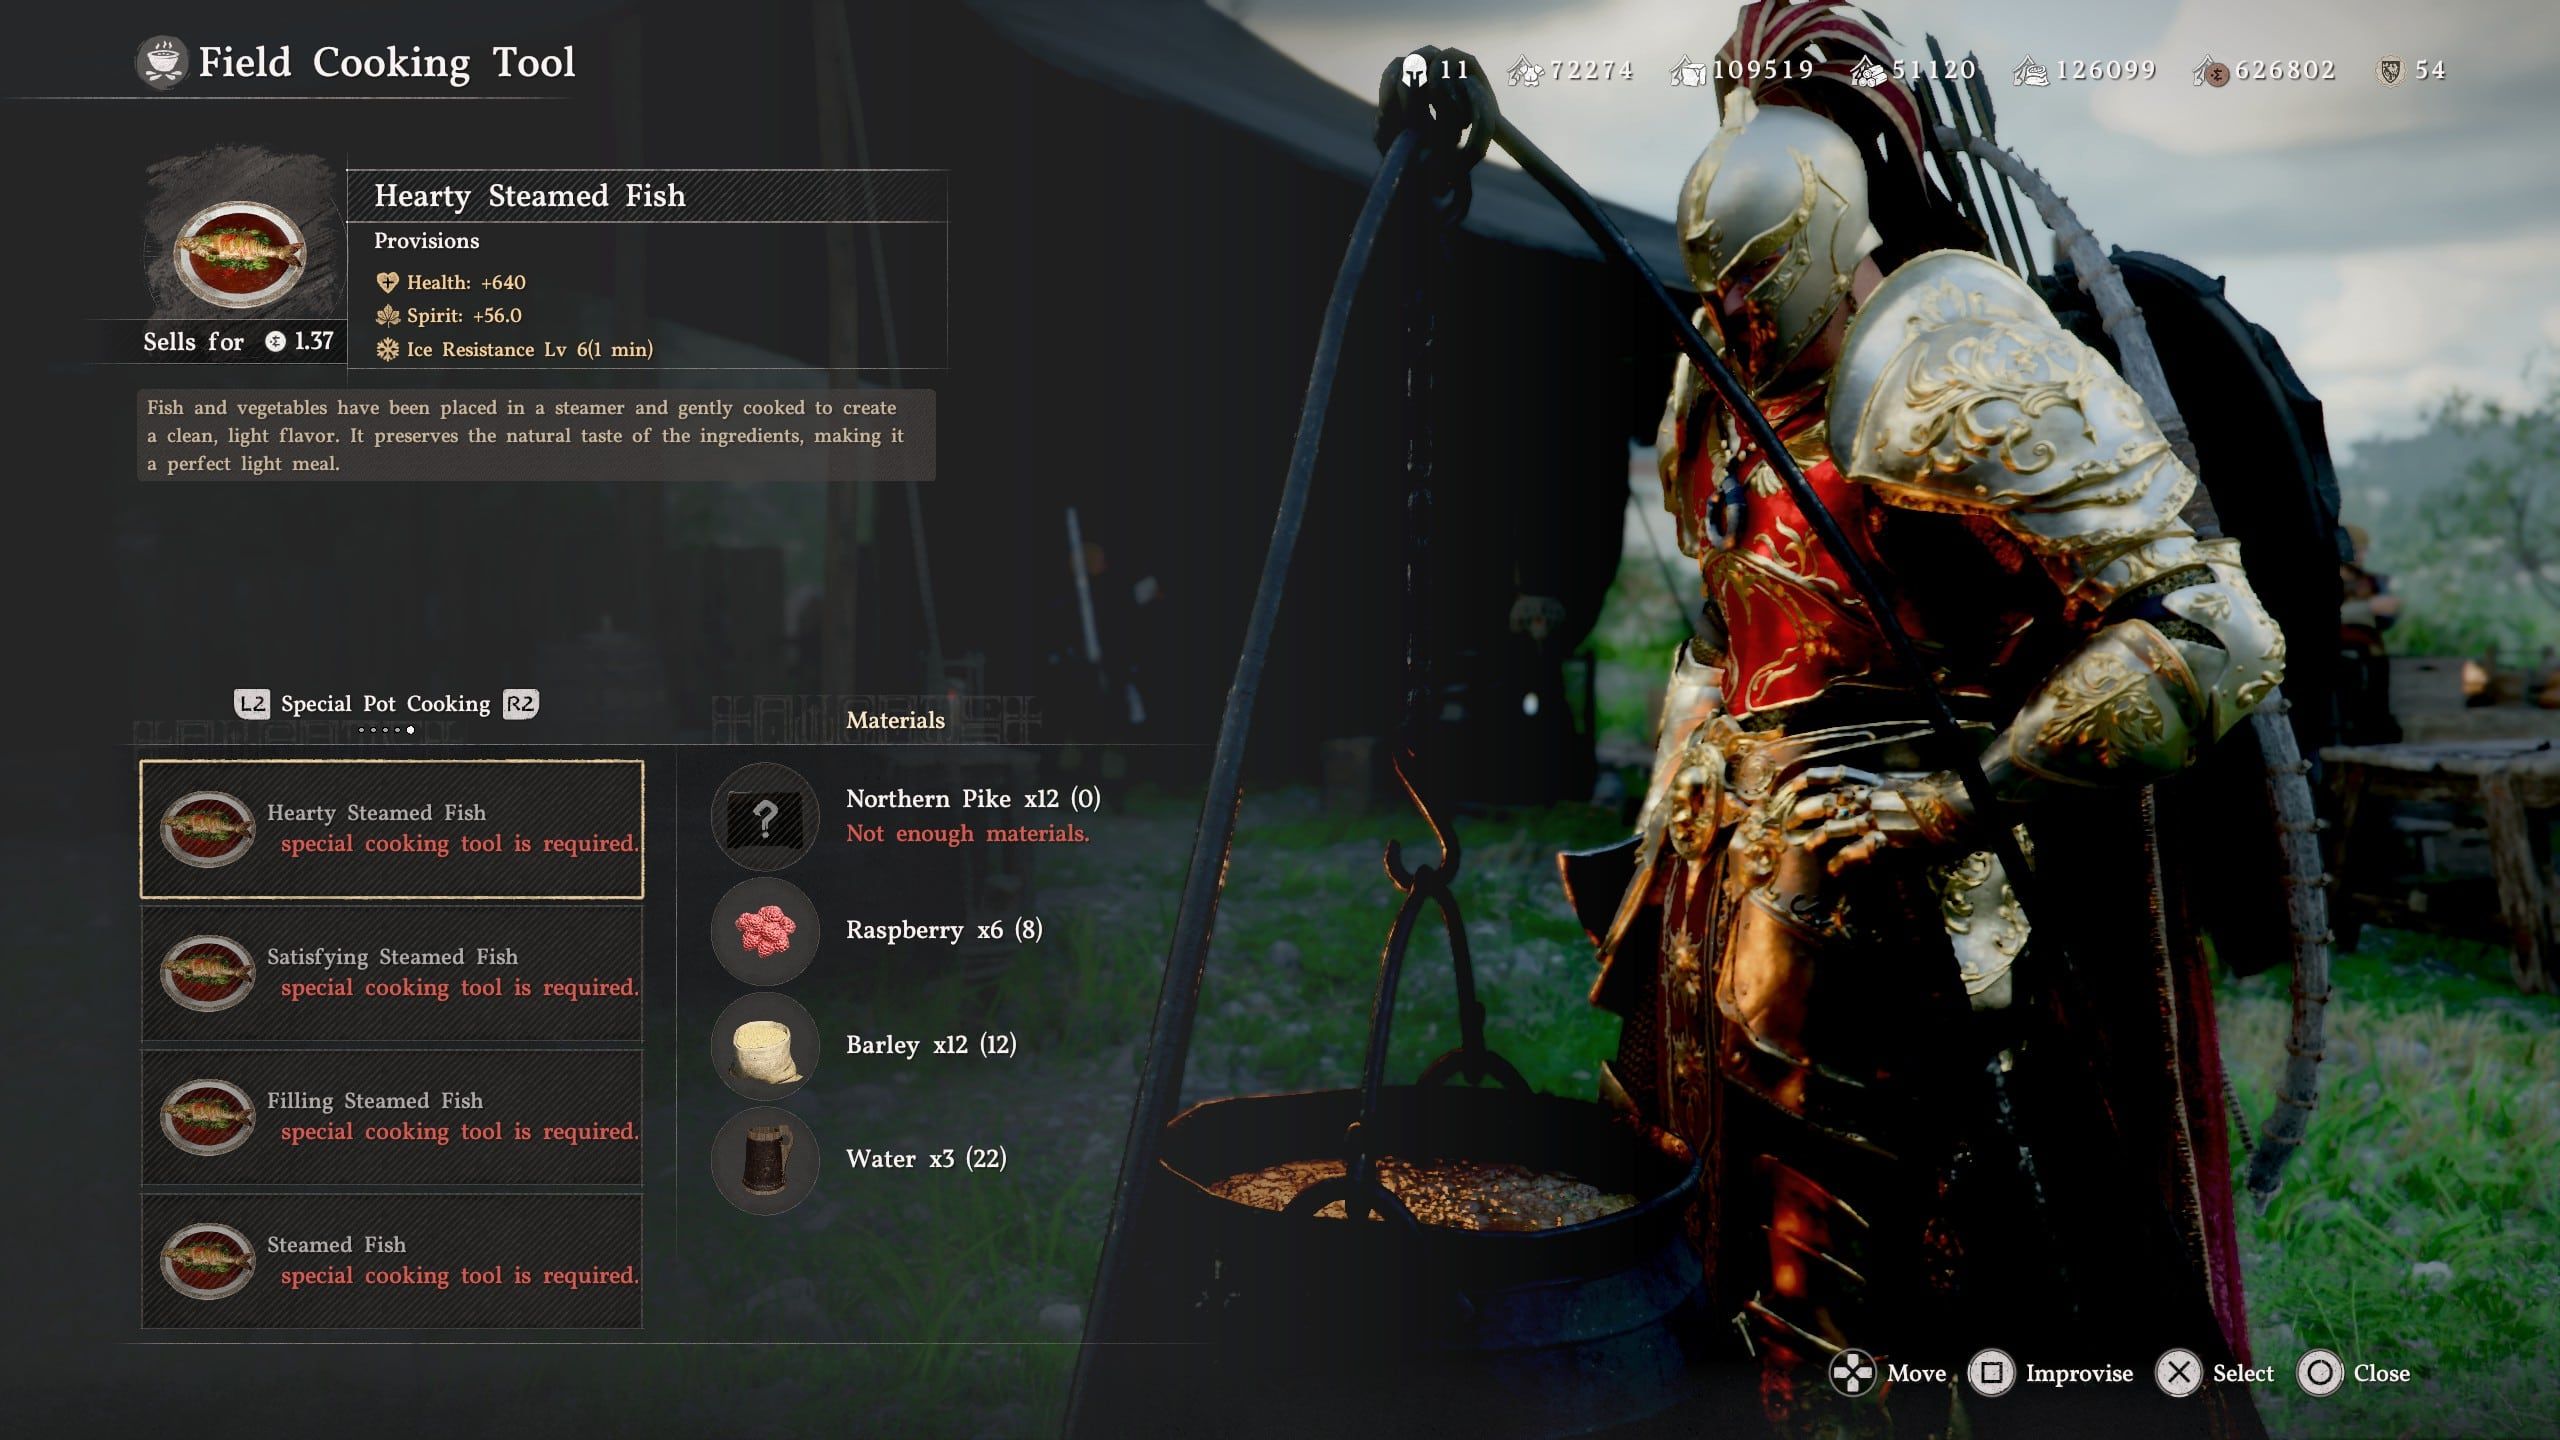
- 5Cooking: your actual healing system
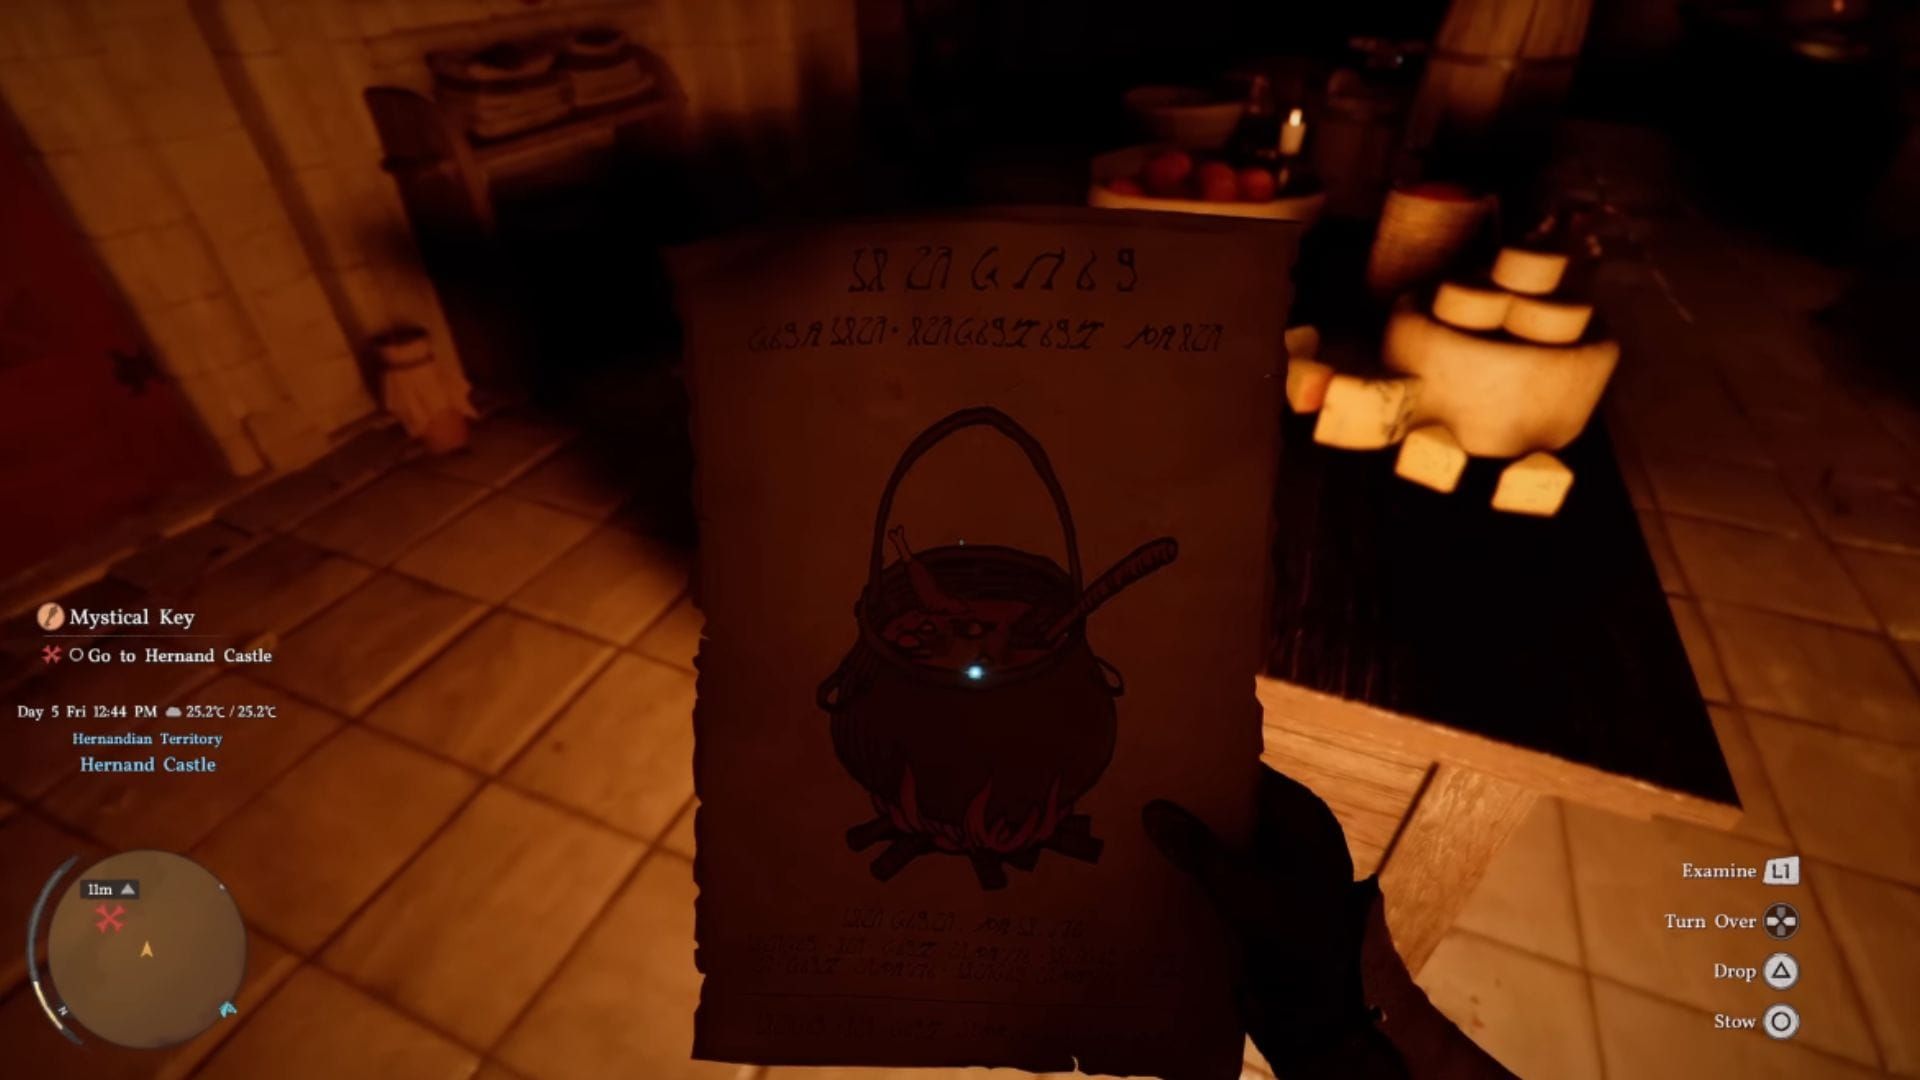
- 6Alchemy: potions and elixirs at the cauldron
- 7Farm and garden: worth it or not?
- 8Merchants and trust contracts
- 9Carts and trade
- 10Bonus tips for the camp
- 11FAQ