yuux
Co-founder of DropReference, I'm here to give you the best tips to build the gaming PC of your dreams!
yuux
Co-founder of DropReference, I'm here to give you the best tips to build the gaming PC of your dreams!
- 1Building your base in Subnautica 2 is not just about laying corridors
- 2The best basic locations by game phase
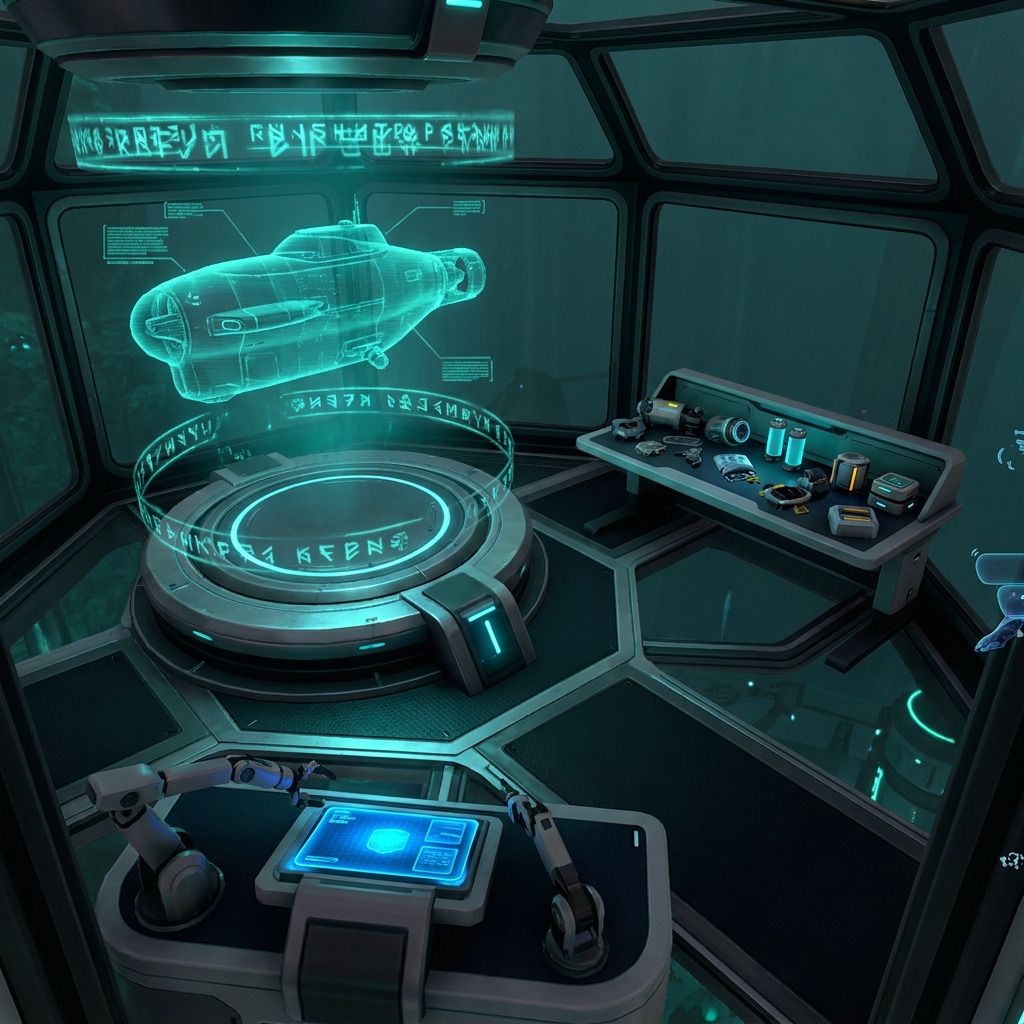
- 3Building modules: what you can place and how to unlock them
- 4The interior modules: Fabricator, Processor, Biolab, and company
- 5Energy: solar, hydro or thermal?
- 6Hull integrity: the thing everyone learns too late
- 7Advanced construction tips
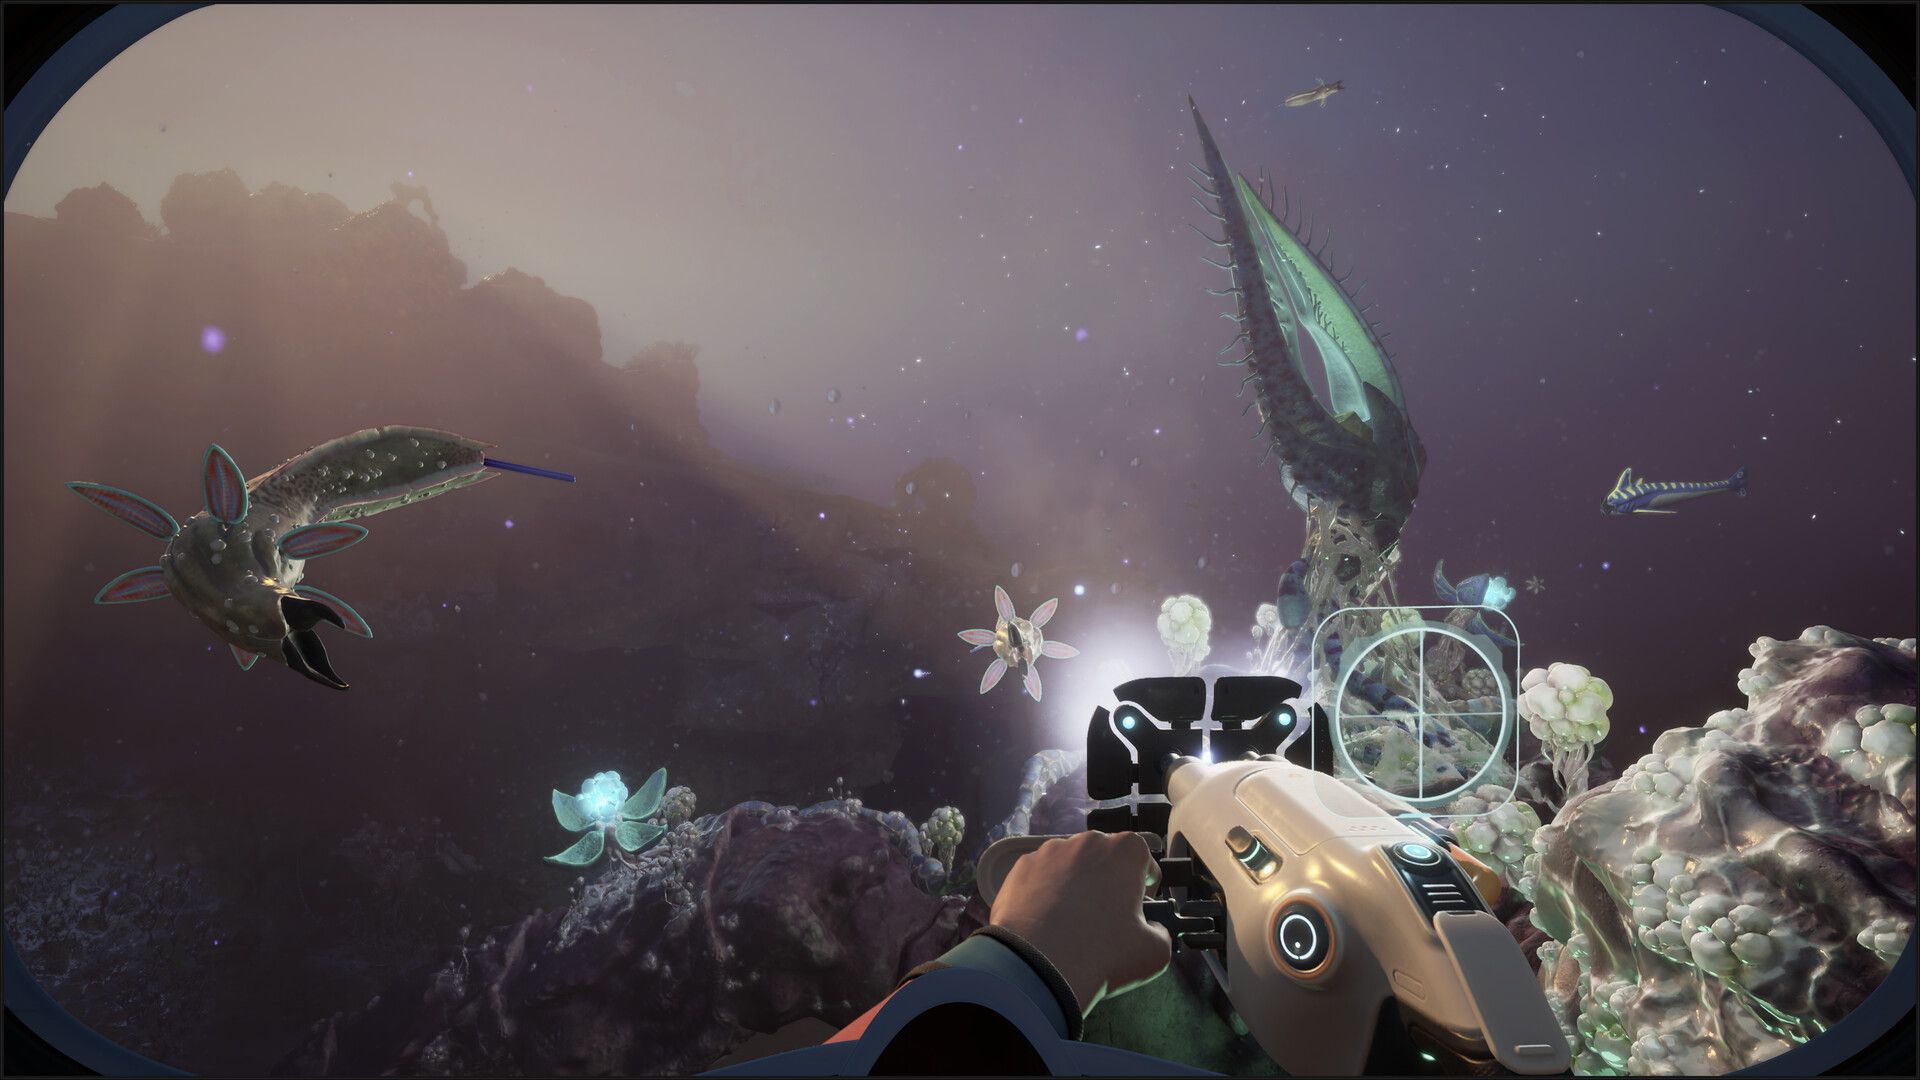
- 8Biomes and their resources: where to farm what
- 9Step-by-step construction plan
- 10FAQ